
This post will outline how to complete a two-day hike starting from Lake Quilotoa – venturing to Chugchilan (day 1) and Isinlivi (day 2).
Where to start?
First, you’ll spend a night in the city of Latacunga, Ecuador (about 2.5 hours south of Quito, Ecuador) and catch a morning bus to Quilotoa. *There are two direct buses, 7:30am and 8:00am*
The ride takes just under two hours, meaning you’ll start day one at around 10:00am. Now, you need to realize that starting at Lake Quilotoa means that you’ll see this magnificent crater lake first instead of saving it for the last day. It also means that the hike will average out to be slightly more downhill, a worthwhile tradeoff in my opinion.
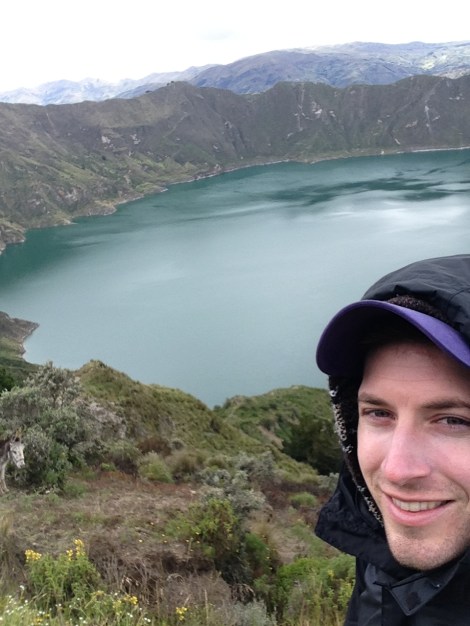

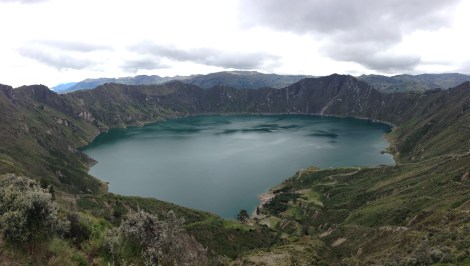
Lake Quilotoa was formed when this volcano erupted over 800 years ago – creating a caldera which has since accumulated beautiful greenish water that is 820 feet deep. Sitting at 3800 meters above sea level, the path overlooking the lake will absolutely take your breath away!
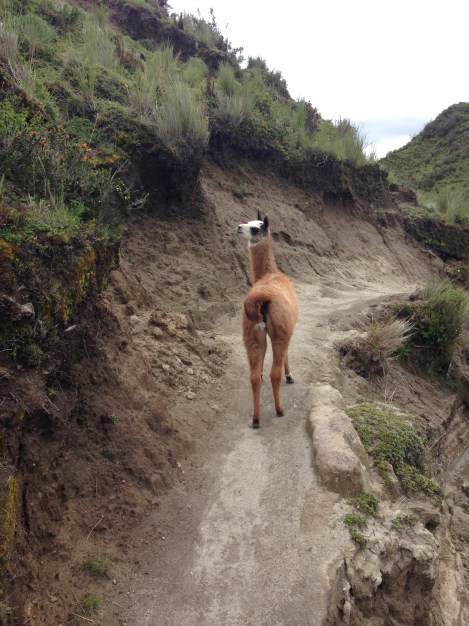
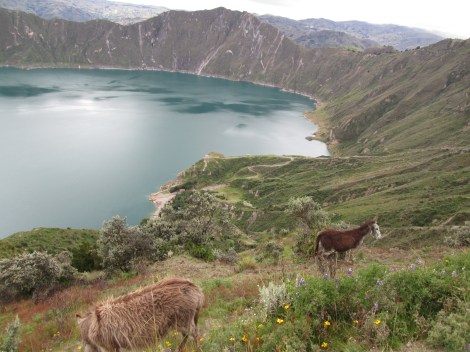
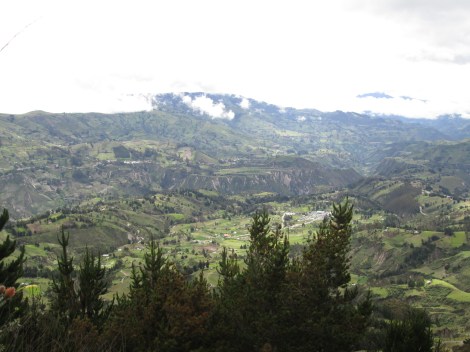
From the starting point, you’ll walk for about an hour around the edge of the rim, seeing nothing outside of a few llamas, sheep and horses, before heading downhill away from the Lake.
*hostels in Latacunga will provide detailed paper maps of the route with relatively clear directions*
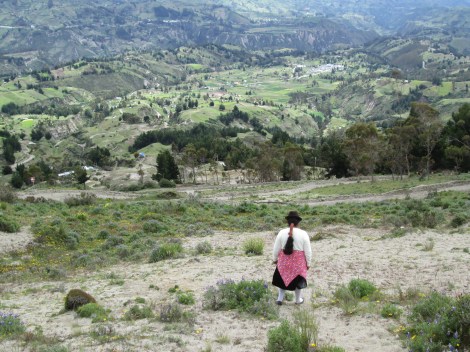
This lady cruised ahead of me, forgoing the path altogether. She was also wearing slip on shoes (all the women in this area wore the same traditional outfits) and was 20+ years older than me…
Along the way I encountered a few locals going about their daily routine but I didn’t pass by any other foreigners on the first day.
A few hours in, you’ll come upon a small village (one street) and you’ll have a chance to buy a bottle of water or some snacks.
After that, it’s pretty much just you and some magnificent scenery for the remainder of the day!

At a certain point, you will have the option to walk around the mountain or to climb down before ascending on the other side of the river. I chose option two in an effort to save some time, and I would probably not recommend taking that route as the path markings are not very clear.
Again, an old local lady wearing slip on shoes is incredibly climbing this mountain without the slightest bit of struggle.
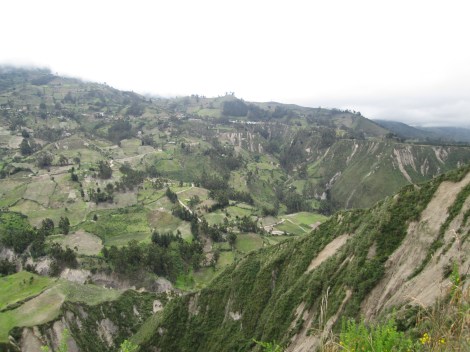
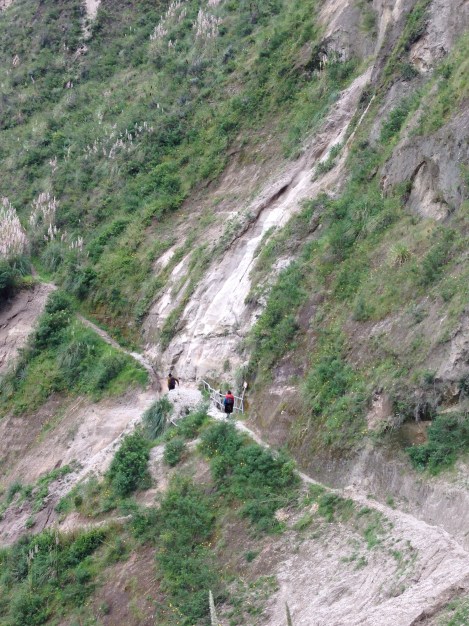
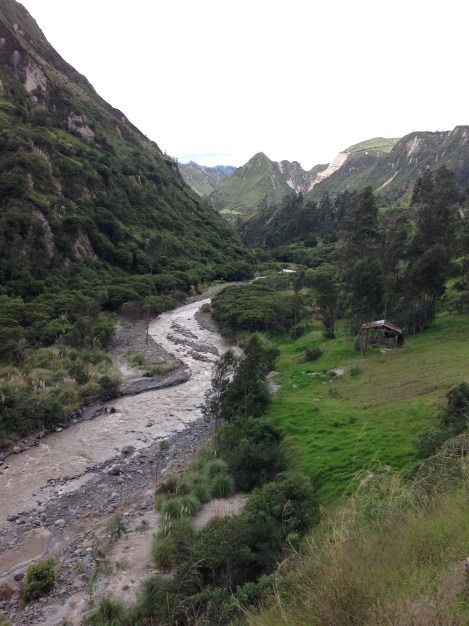
Eventually, you’ll come upon a river. At this point in my journey, the path ceased to exist and it took some deft maneuvering and a little luck to get up and over the other side.
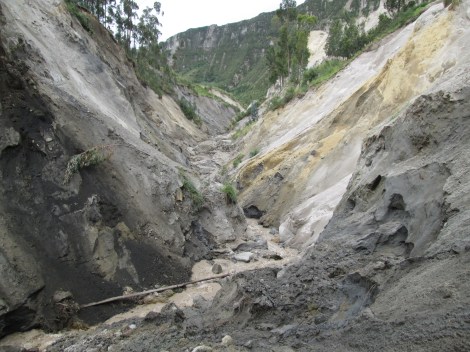
It turns out that trying to climb up a steep wall of loose dirt is virtually impossible. Who would have thought!
About an hour after this point, I managed to make it to the small town of Chugchilan.
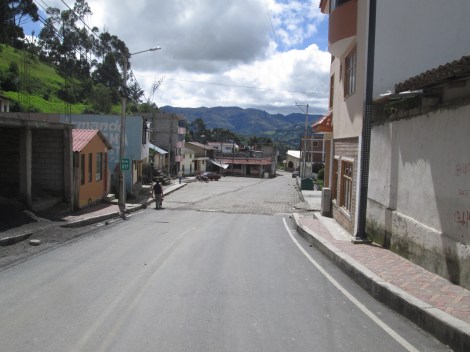
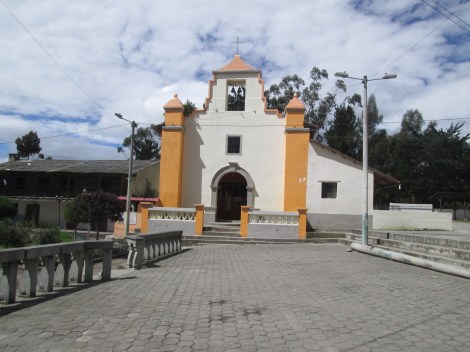
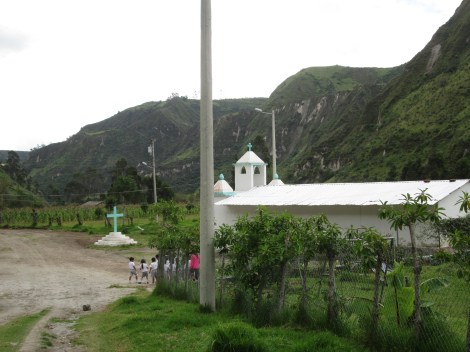
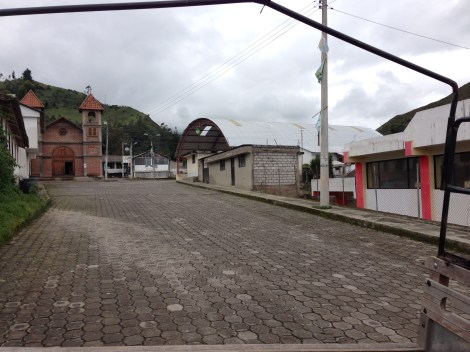
Here, you’ll find a few small stores, a church, and 3 or 4 hostels. Each hostel will provide accommodation including dinner and breakfast for $15-20 USD.
Day 1 took 5-6 hours and covered about 14km.
Day 2: Chugchilan to Isinlivi
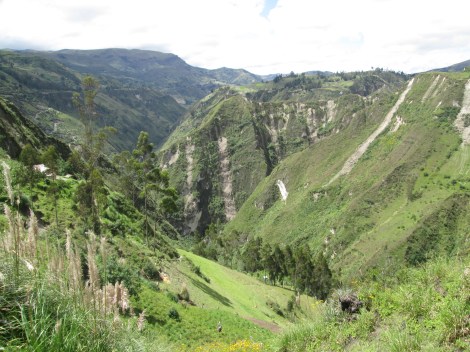
Again, the hiking time is about 4-6 hours on moderate to easy terrain. A few areas are steep and tricky, but on the whole, the hike is relatively easy.
You’ll start off walking through Chugchilan and down a paved road for about an hour before turning off onto a dirt path.
You’ll continue along this path until you reach an incredible lookout area. Here, a friendly local came out to greet me, sold me a wooden spoon, and chatted for 30-minutes or so.

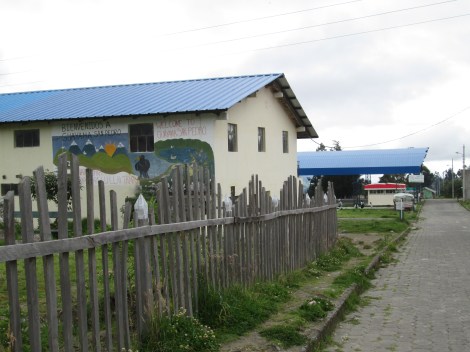
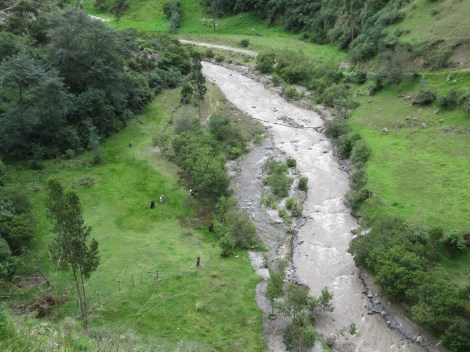
From here, you’ll descend down the mountain into a small village with a school. After passing through, you’ll walk alongside the river seeing a few locals and a handful of foreigners coming from the opposite direction.
Continue along the path for 2-3 more hours to reach Isinlivi!
This leg of the hike is very well marked and you should have no trouble finding the town.

A small town of about 150 residents, Isinlivi is the least developed of the 3 main towns along the Quilotoa loop (Chugchilan and Sigchos are the other two). There are 2 hostels (again, $20 USD for a dorm room with dinner and breakfast) and a few small shops.
Conclusion:
The following morning, I hopped in the back of a truck which drove me to Sigchos. *If you want to do a 3 day hike, Isinlivi to Sigchos is your route for day 3*
From here, there are buses returning to Latacunga leaving throughout the day.
In total, my two day hike of the Quilotoa loop cost me $46 USD plus $6.5 USD in beer. This loop is the first thing I tell people about if I hear they are going to Ecuador. The unspoiled, amazing scenery is the perfect setting for a 2 to 3 day hike and I can promise you that it will be worth your time!

And hey, it’s not every day you can hang out with a dog and llama at the same time!
I hope this was helpful : )
Salud!

GREAT STUFF!
LikeLiked by 1 person
Appreciate it!
LikeLiked by 1 person
Have the mountains been cleared completely of forests? They seem to be only covered by bushes…
LikeLiked by 1 person
Hmm ya that’s an interesting observation. While I’m confident this is the natural landscape, there aren’t a whole lot a heavily forested areas. Maybe I failed to capture the areas that were in my pictures as well. I do know that a lot of land is utilized for growing corn, potatoes and radishes!
LikeLiked by 1 person
Pingback: Latacunga, Ecuador | canadianglobetrotter·
aw, llama butt
LikeLiked by 1 person
That’s awesome! I was in Ecuador earlier this year, and I was at the Quilotoa loop, too! We were en route from Quito and Lasso and came here. We were at the part of the crater where it was by the town of Zumbahua.
LikeLiked by 1 person
It’s such an amazing area eh!
LikeLiked by 1 person
Quite so! It was amazing being in that country.
LikeLiked by 1 person